
 Marry Walker
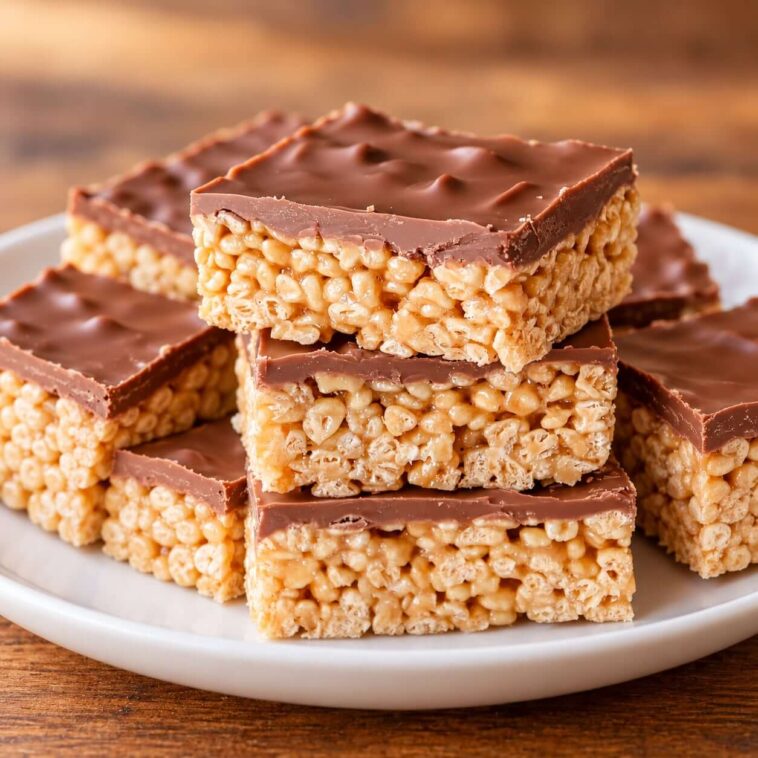
Gluten free krispies are a delightful treat that you can whip up in no time. Perfect for those who need to avoid gluten, these krispies are just as delicious as the traditional version. With a combination of creamy peanut butter and a smooth chocolate topping, they are sure to be a hit at your next gathering.
Whether you’re looking for a quick snack or a dessert to impress your friends, these gluten free krispies are the perfect choice. Easy to make and even easier to enjoy, this recipe will become a staple in your gluten-free kitchen.
Why You’ll Love This Gluten Free Krispies
- Quick and easy to make, perfect for last-minute desserts.
- Gluten-free, making it suitable for those with dietary restrictions.
- The combination of peanut butter and chocolate is a crowd-pleaser.
- No baking required, making it a great summer treat.
- Customizable with your favorite toppings.
- Great for parties, potlucks, and gatherings.
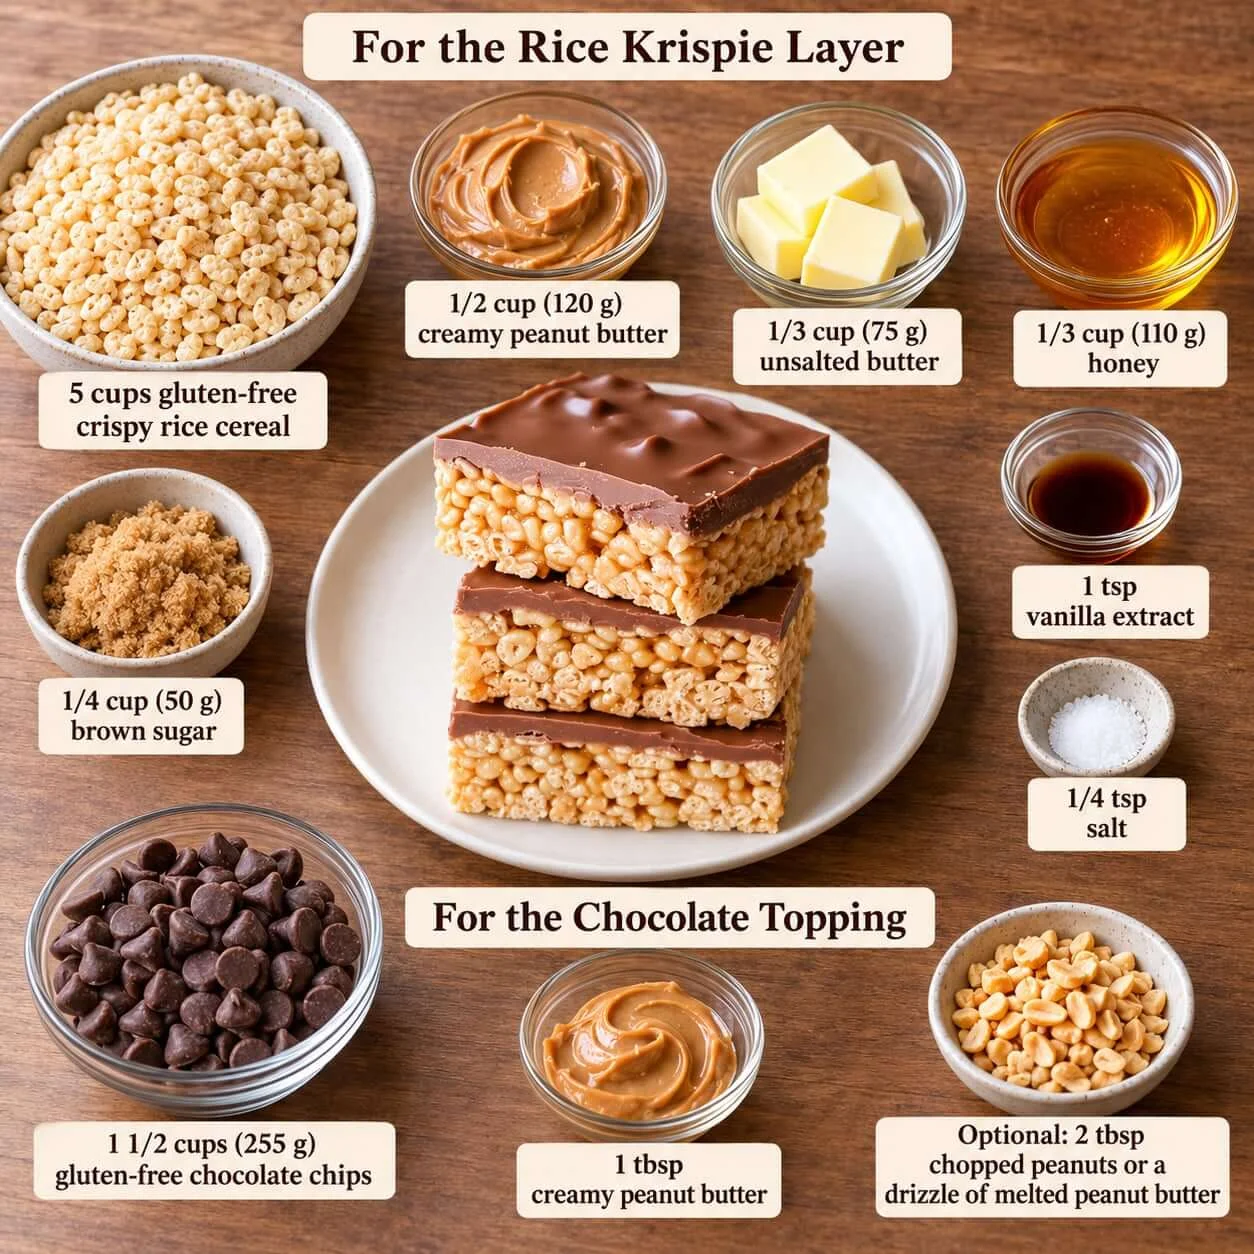
Ingredients for Gluten Free Krispies
For the Rice Krispie Layer
- 5 cups gluten-free crispy rice cereal
- 1/2 cup (120 g) creamy peanut butter
- 1/3 cup (75 g) unsalted butter
- 1/3 cup (110 g) honey
- 1/4 cup (50 g) brown sugar
- 1 tsp vanilla extract
- 1/4 tsp salt
For the Chocolate Topping
- 1 1/2 cups (255 g) gluten-free chocolate chips
- 1 tbsp creamy peanut butter
- Optional: 2 tbsp chopped peanuts or a drizzle of melted peanut butter
How to Make Gluten Free Krispies — Step by Step
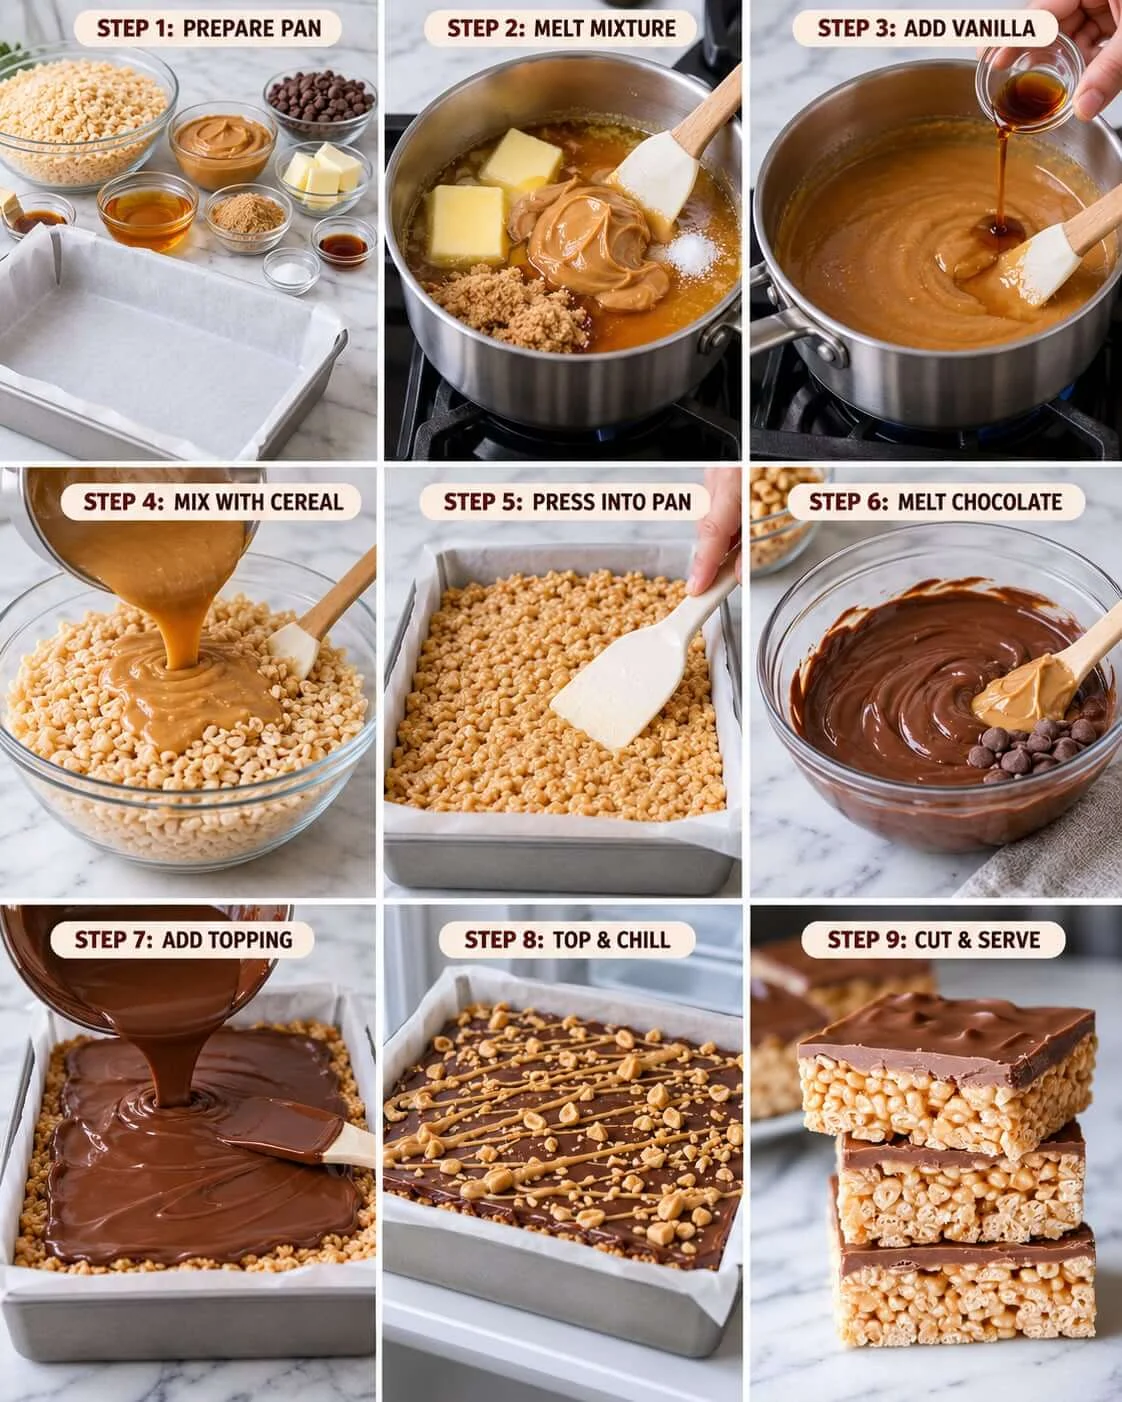
- Prepare the pan: Line a 9 × 13-inch baking pan with parchment paper, leaving some overhang for easy removal.
- Make the peanut butter mixture: Add the butter, honey, brown sugar, peanut butter, and salt to a saucepan over medium-low heat. Stir continuously until the butter melts and the mixture becomes smooth.
- Add vanilla: Remove the saucepan from the heat and stir in the vanilla extract.
- Combine with cereal: Place the gluten-free crispy rice cereal in a large bowl. Pour the warm peanut butter mixture over the cereal and gently stir until everything is evenly coated.
- Press into the pan: Transfer the mixture to the prepared pan. Using a lightly greased spatula or a piece of parchment paper, gently press it into an even layer. Don’t press too hard or the treats can become dense.
- Make the chocolate topping: Melt the chocolate chips and 1 tablespoon peanut butter together in the microwave in 20–30 second intervals, stirring between each interval, until smooth.
- Add the chocolate: Pour the melted chocolate over the Rice Krispie layer and spread evenly.
- Add toppings: Sprinkle with chopped peanuts or drizzle with additional melted peanut butter if desired.
Tips and Tricks for the Best Gluten Free Krispies
- Ensure your cereal is labeled gluten-free to avoid contamination.
- For a crunchy texture, don’t pack the cereal mixture too tightly in the pan.
- Use a high-quality chocolate for a smoother finish.
- Add a pinch of salt to the chocolate for a flavor boost.
- Experiment with different nut butters for a unique twist.
Storage and Make-Ahead
Fridge: Store in an airtight container in the refrigerator for up to a week.
Freezer: Freeze in a single layer for up to 3 months. Allow to thaw before serving.
Reheat: Enjoy straight from the fridge or at room temperature. No need to reheat.
Frequently Asked Questions
Are these gluten free krispies safe for celiacs?
Yes, as long as you use certified gluten-free rice cereal, these treats are safe for those with celiac disease.
Can I make gluten free rice krispies without peanut butter?
Absolutely! You can substitute with almond butter or sunflower seed butter for a nut-free option.
What makes gluten free rice krispie treats different?
The main difference is the use of gluten-free rice cereal, ensuring the treats are safe for those avoiding gluten.
Are rice crispy treats gluten free by default?
No, traditional rice crispy treats often contain malt flavoring, which has gluten. Always check the cereal label.
This gluten-free krispies recipe is a fantastic way to enjoy a classic treat without the gluten. Perfect for sharing, these treats are sure to impress. Be sure to try them out and let us know your thoughts in the comments below. Don’t forget to join our Facebook group for more gluten-free recipes and tips!
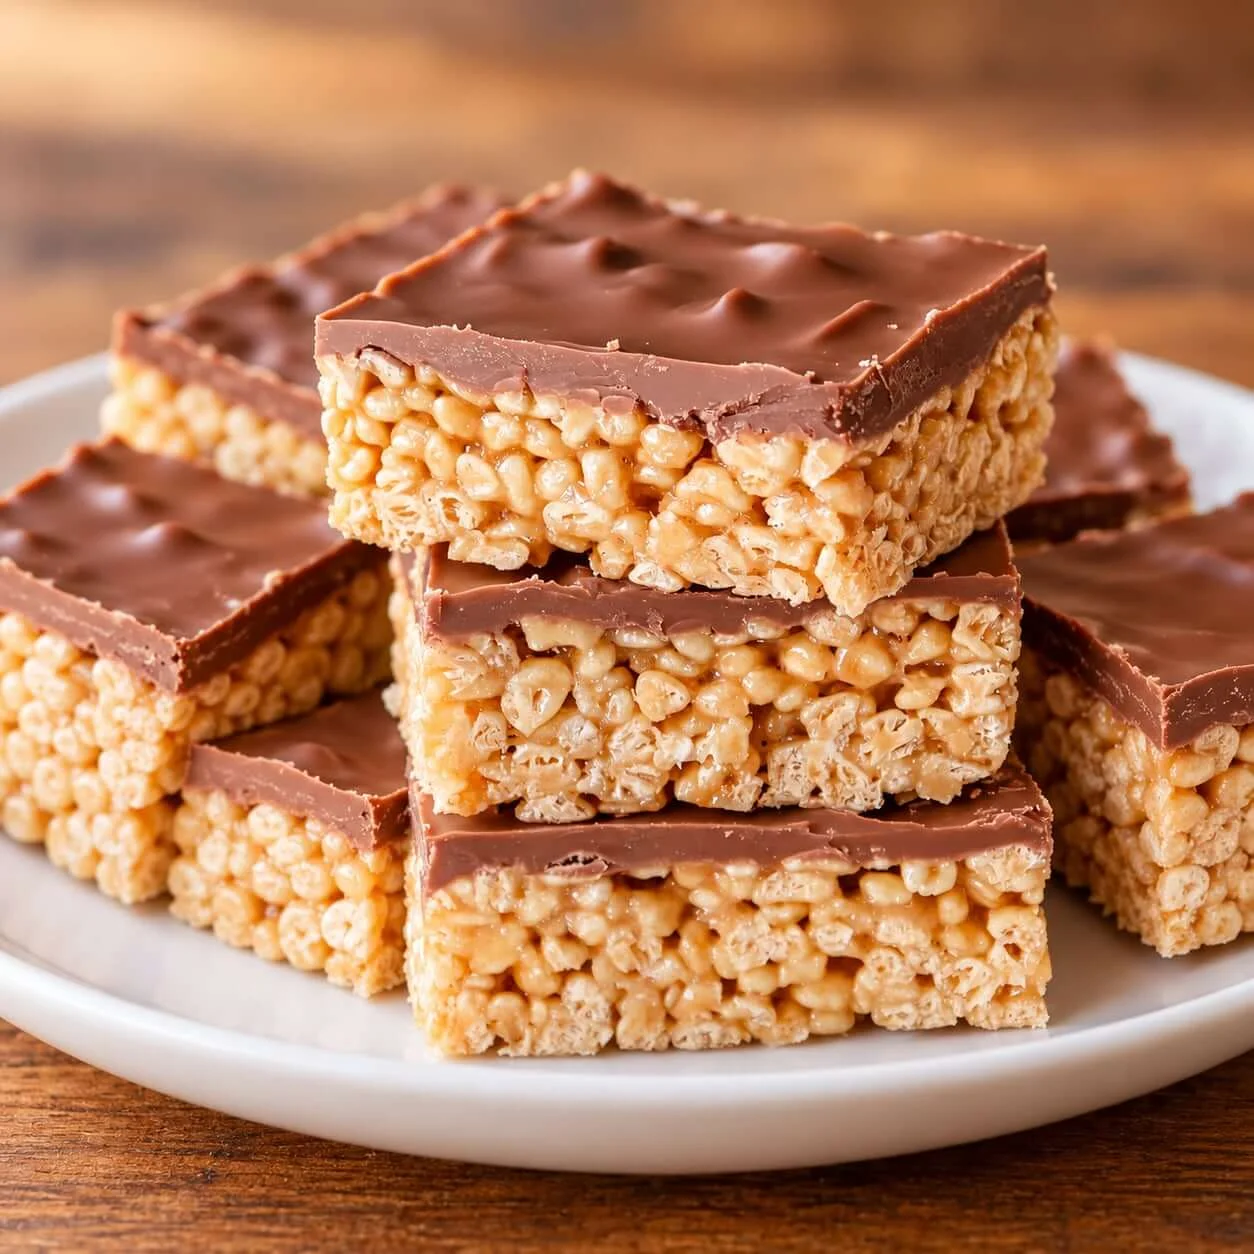
Gluten Free Krispies
Ingredients
For the Rice Krispie Layer
- 5 cups gluten-free crispy rice cereal
- 1/2 cup (120 g) creamy peanut butter
- 1/3 cup (75 g) unsalted butter
- 1/3 cup (110 g) honey
- 1/4 cup (50 g) brown sugar
- 1 tsp vanilla extract
- 1/4 tsp salt
For the Chocolate Topping
- 1 1/2 cups (255 g) gluten-free chocolate chips
- 1 tbsp creamy peanut butter
- Optional: 2 tbsp chopped peanuts or a drizzle of melted peanut butter
Instructions
- Prepare the pan: Line a 9 × 13-inch baking pan with parchment paper, leaving some overhang for easy removal.
- Make the peanut butter mixture: Add the butter, honey, brown sugar, peanut butter, and salt to a saucepan over medium-low heat. Stir continuously until the butter melts and the mixture becomes smooth.
- Add vanilla: Remove the saucepan from the heat and stir in the vanilla extract.
- Combine with cereal: Place the gluten-free crispy rice cereal in a large bowl. Pour the warm peanut butter mixture over the cereal and gently stir until everything is evenly coated.
- Press into the pan: Transfer the mixture to the prepared pan. Using a lightly greased spatula or a piece of parchment paper, gently press it into an even layer. Don’t press too hard or the treats can become dense.
- Make the chocolate topping: Melt the chocolate chips and 1 tablespoon peanut butter together in the microwave in 20–30 second intervals, stirring between each interval, until smooth.
- Add the chocolate: Pour the melted chocolate over the Rice Krispie layer and spread evenly.
- Add toppings: Sprinkle with chopped peanuts or drizzle with additional melted peanut butter if desired.
Storage & Make-Ahead
- Refrigerator: Store in an airtight container in the refrigerator for up to a week.
- To Freeze: Freeze in a single layer for up to 3 months. Allow to thaw before serving.
- To Reheat: Enjoy straight from the fridge or at room temperature. No need to reheat.
Nutrition Per Serving
* Estimate only. May vary based on ingredients used.

One Comment
Leave a ReplyOne Ping
Pingback:Gluten Free Italian Almond Cookies: Irresistibly Delicious